How to install Windows OS and set up IPv6 address
This documentation covers the steps of installing a Windows OS on your VM and configuring IPv6 address to get remote access to the VM. Please note that before starting this, you should have the VM and the state bar is showing green. Additionally, if you want to install other operating systems, please follow the documentation: How To Install Operating System
Table
- Install a Windows OS on the VM
- Install network drivers
- Configure IPv6 address
- Get remote access to the VM
Install a Windows OS on the VM
If you want to install Windows, please send us the Windows operating system installation image you want to install, and we will prepare it for you. As long as it's prepared, you can connect to your noVNC interface by click kvm0-url from your Rapid.Space console.
Restart the VM
You are supposed to restart your VM to install a new operating system:
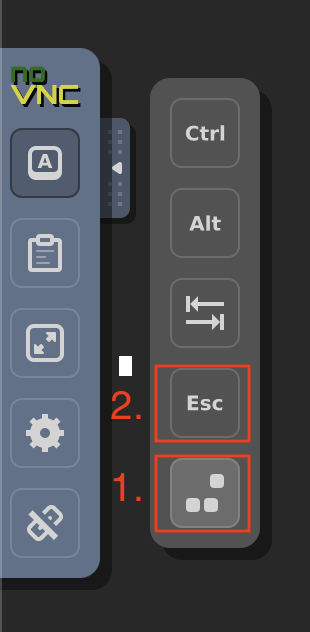
- Click the bottom button to send Crlt-Alt-Del, the VM should be restart
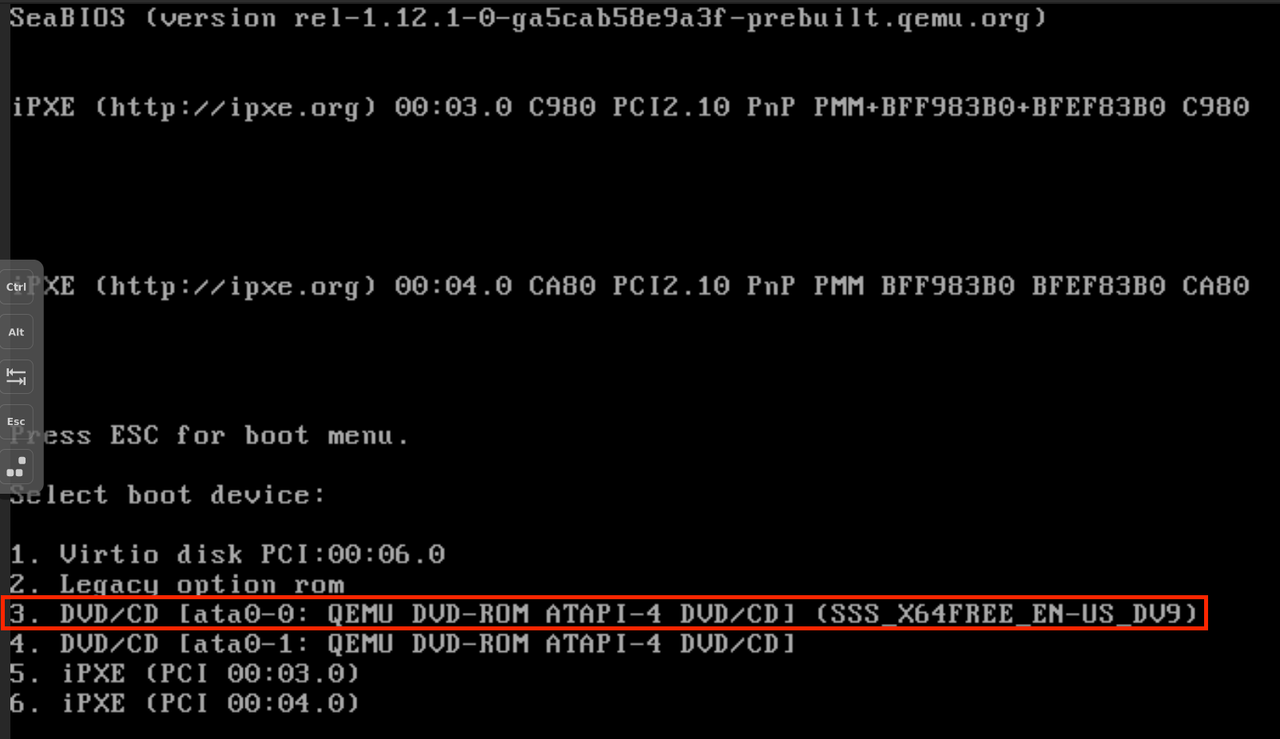
- When you see the line: Press ESC for boot menu, click Esc as below immediately .
- Select boot device: as the screenshot showing below, you should press 3 to enter the installation guide of Windows OS.
Your Windows OS installation guide is booting:


Select language and other preferences
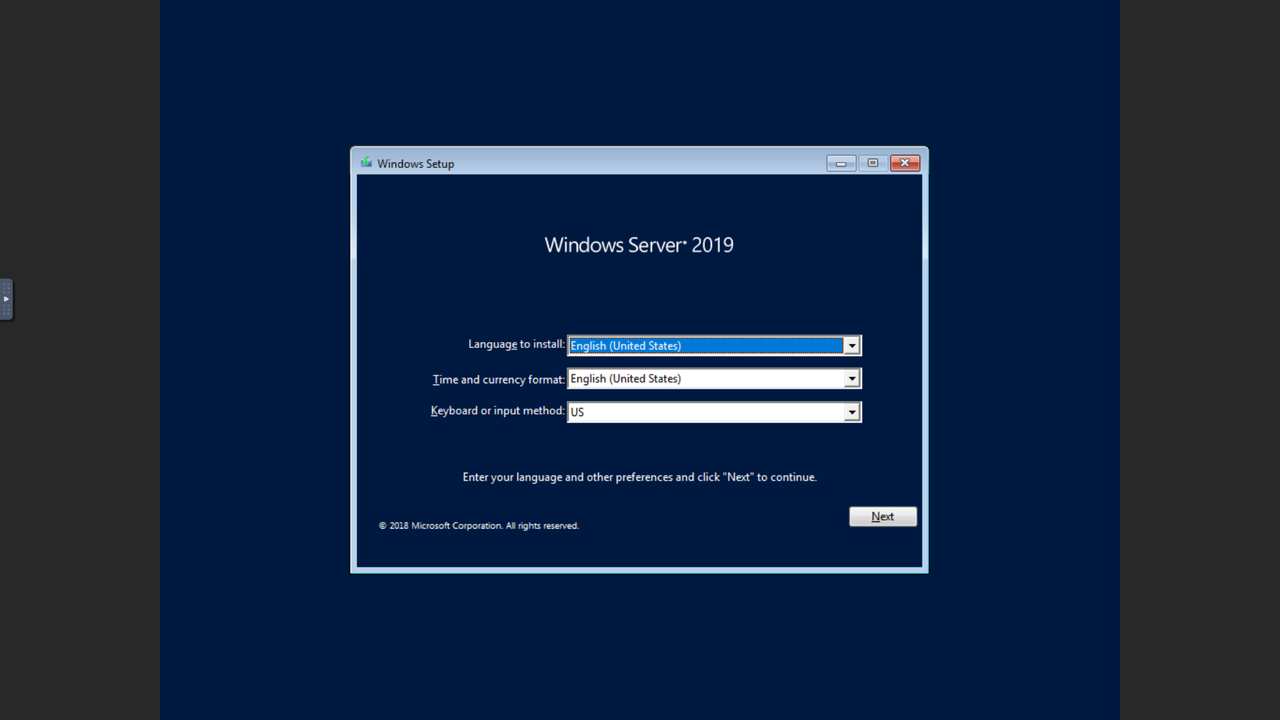
Entered your preferences, you can start to install by clicking Install now button.
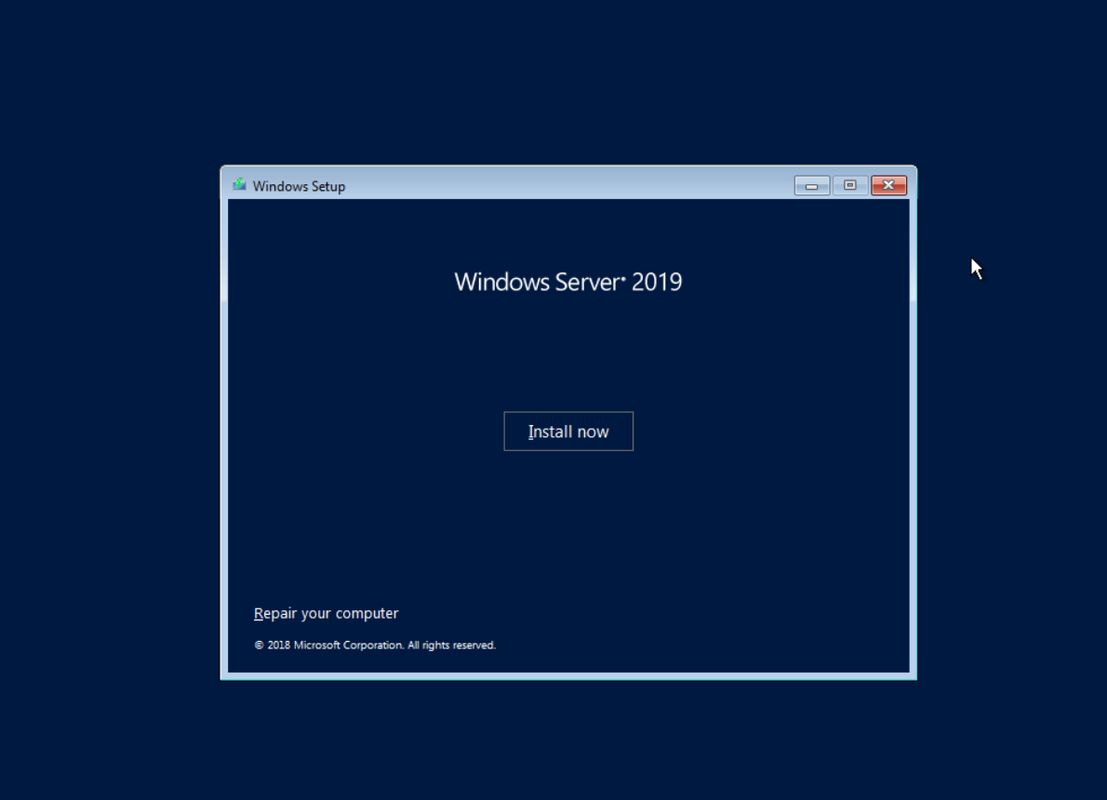
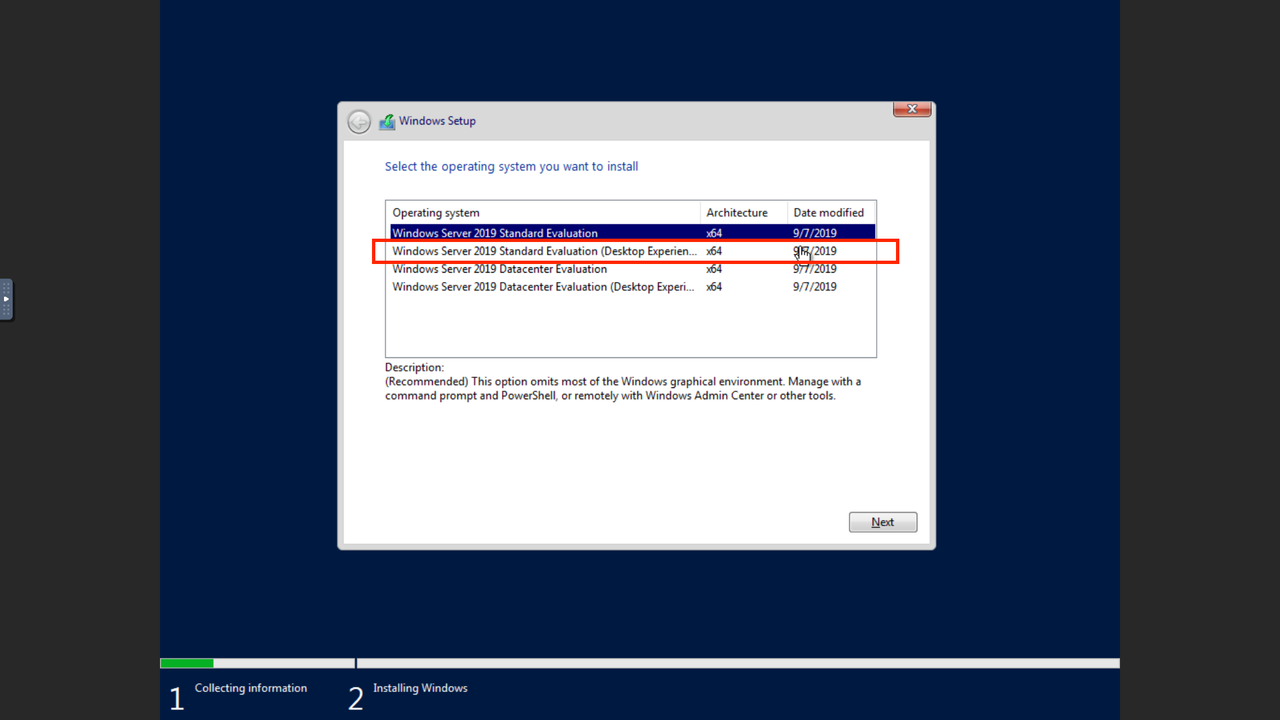
Collecting information
Here we take Windows Server 2019 Standard Evaluation (Desktop) as an example. With the Windows graphical environment, we are able to configure IPv6 address simply by several clicks.
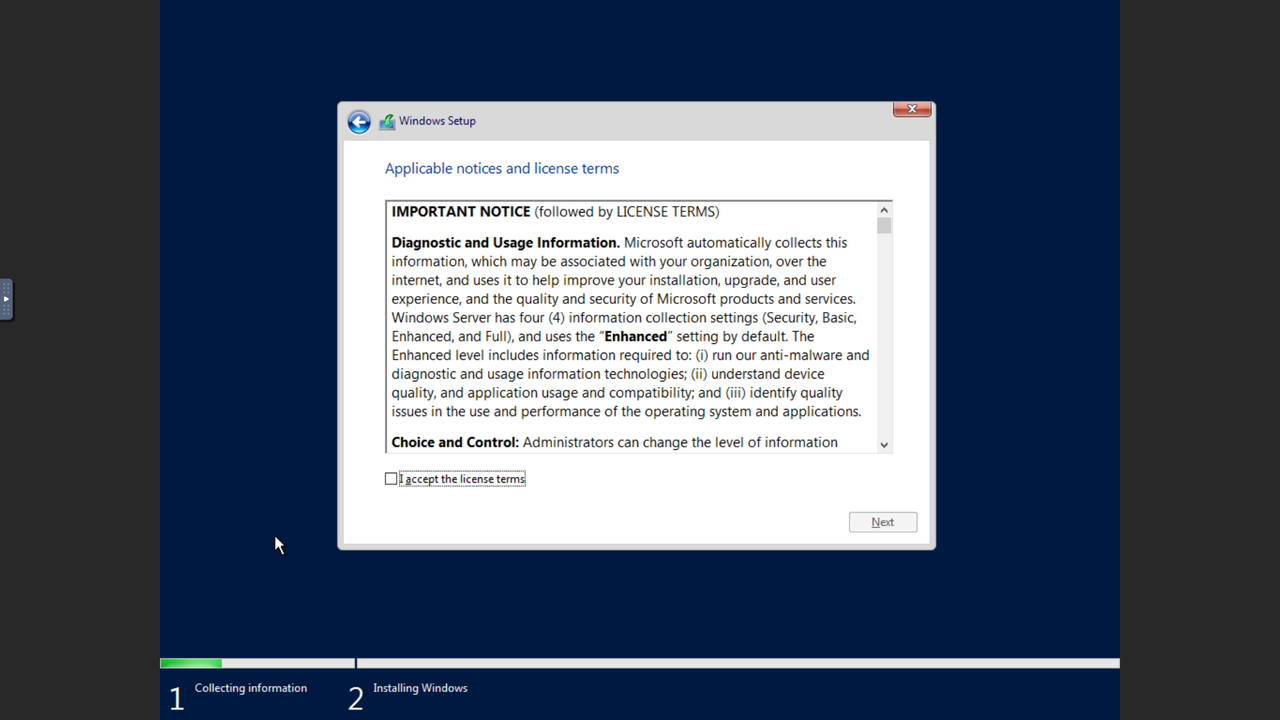
To continue the procedure, you are supposed to accept the license terms then go Next.
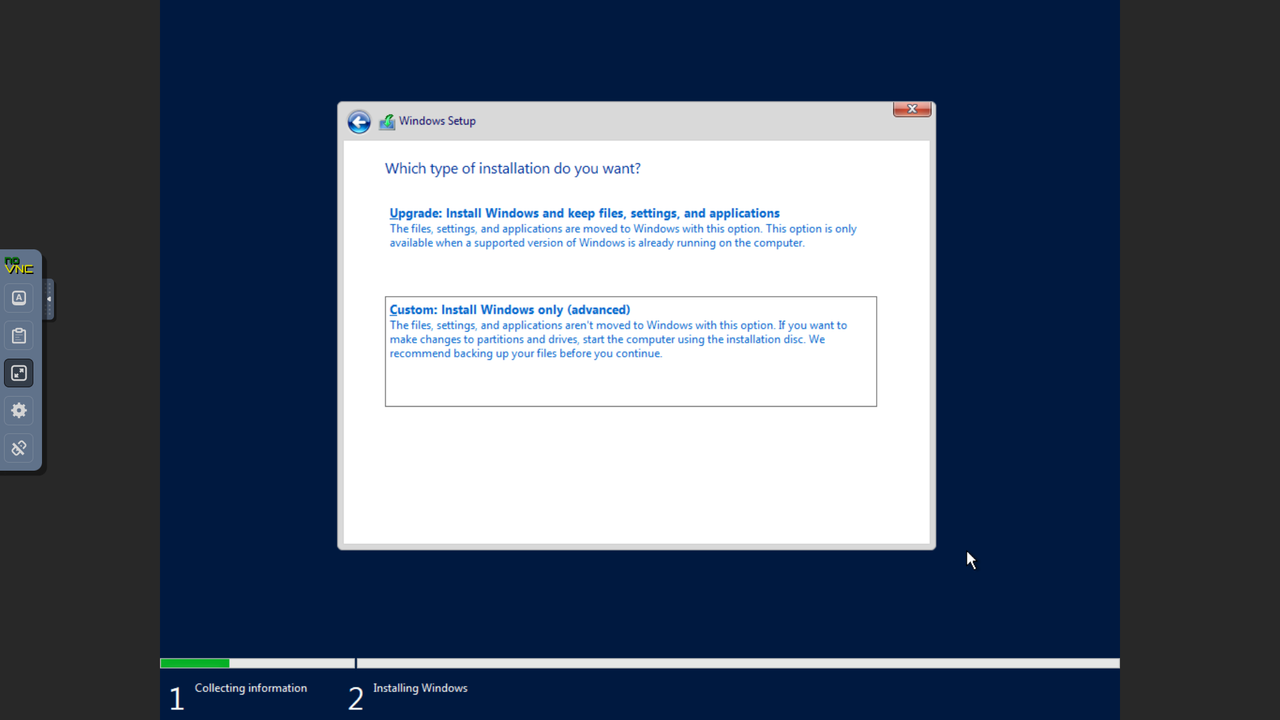
Select Custom: Install Windows Only (advanced) since it's a brand new OS.
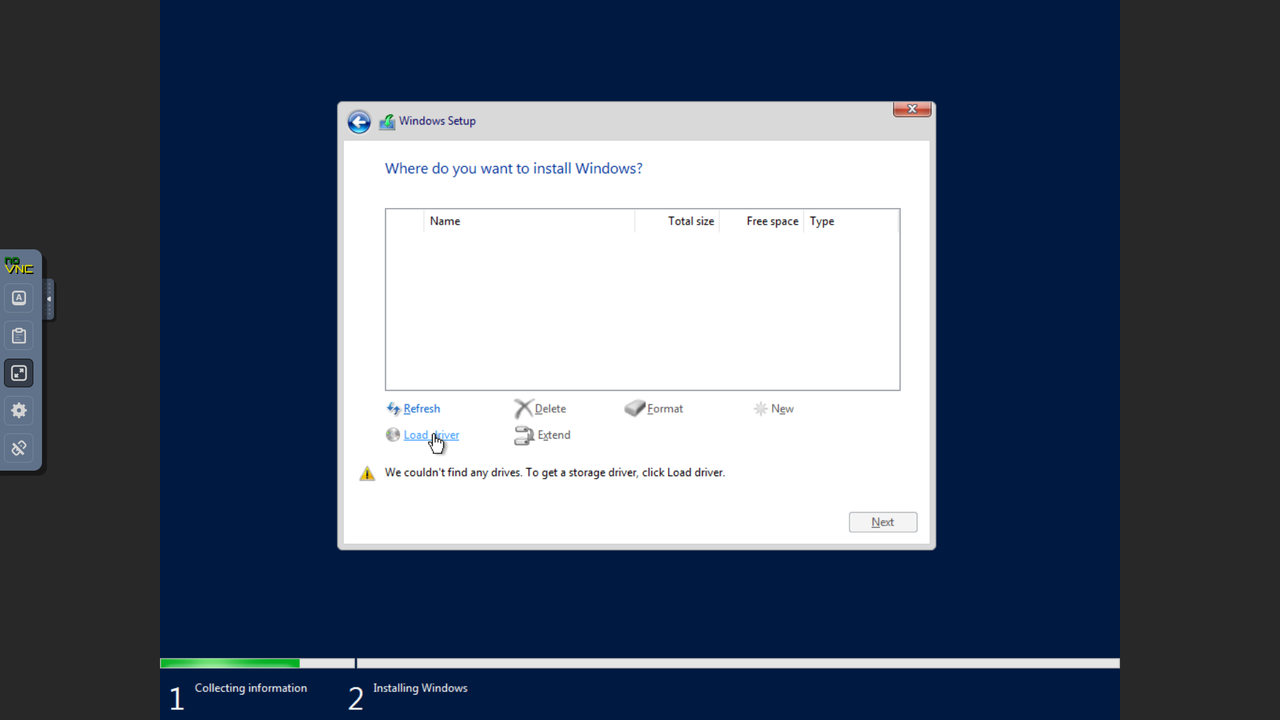
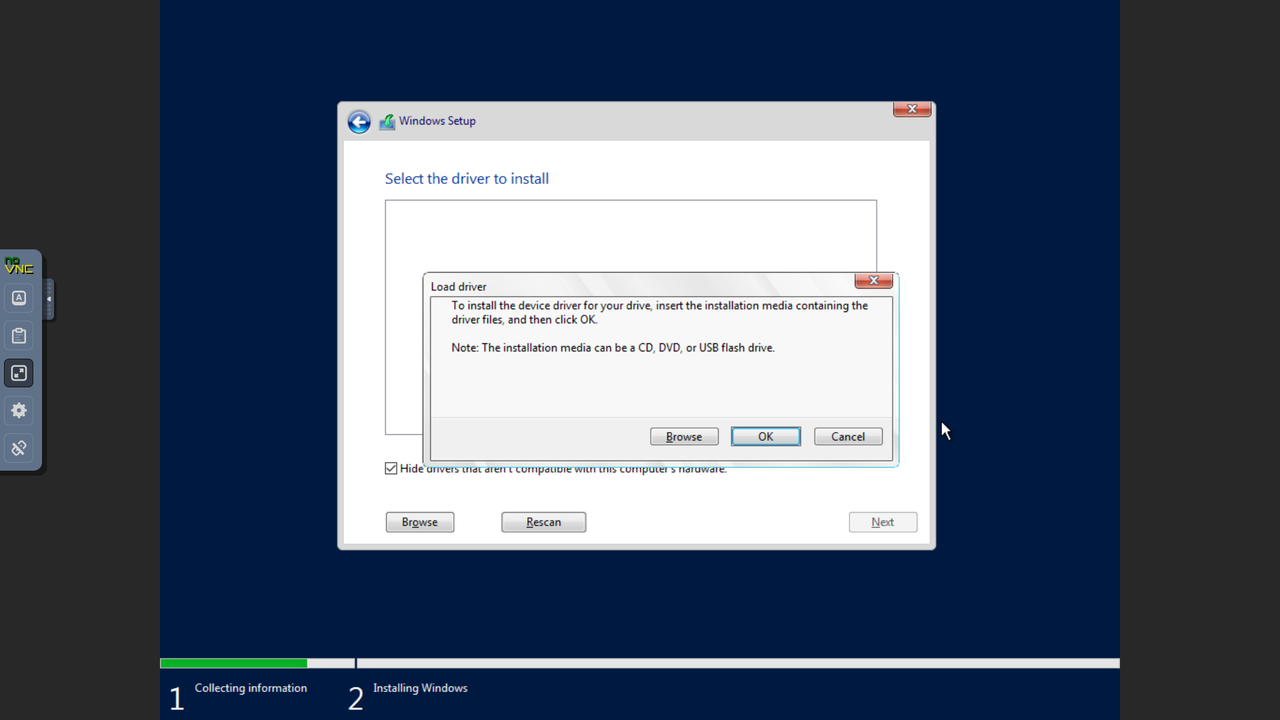
Click Load driver load drivers for installing the networks:
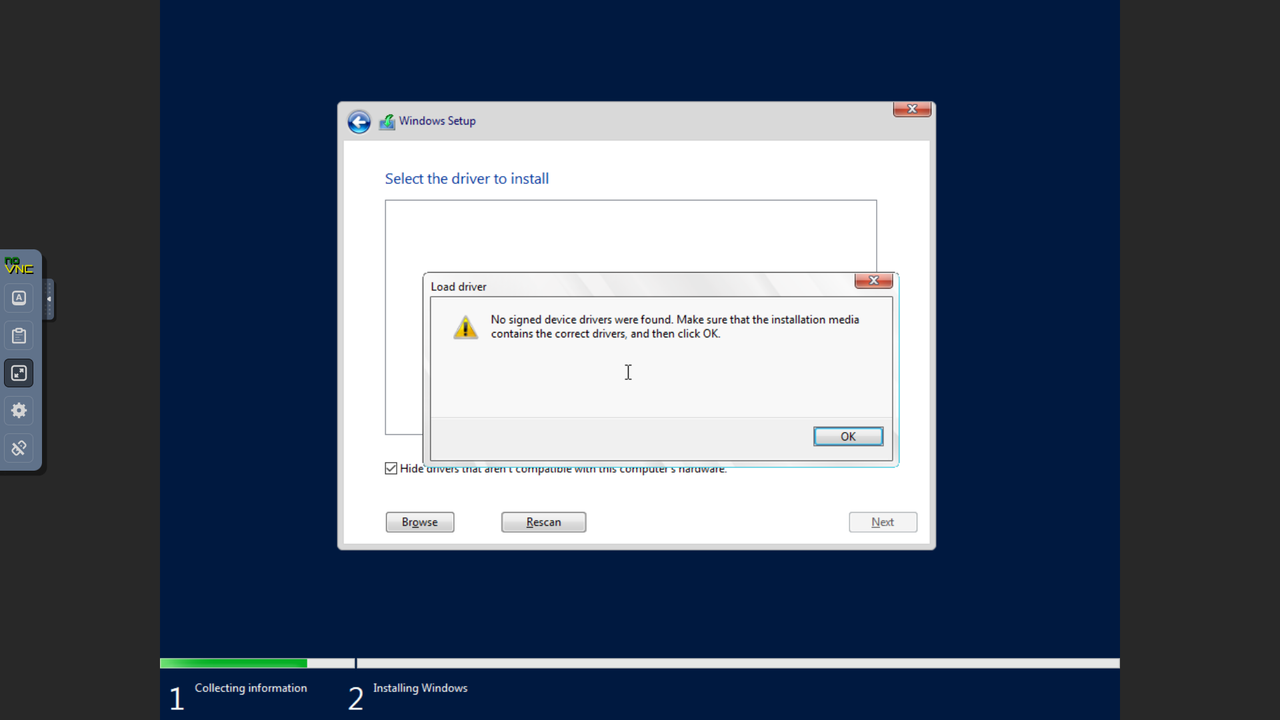
Press OK to continue
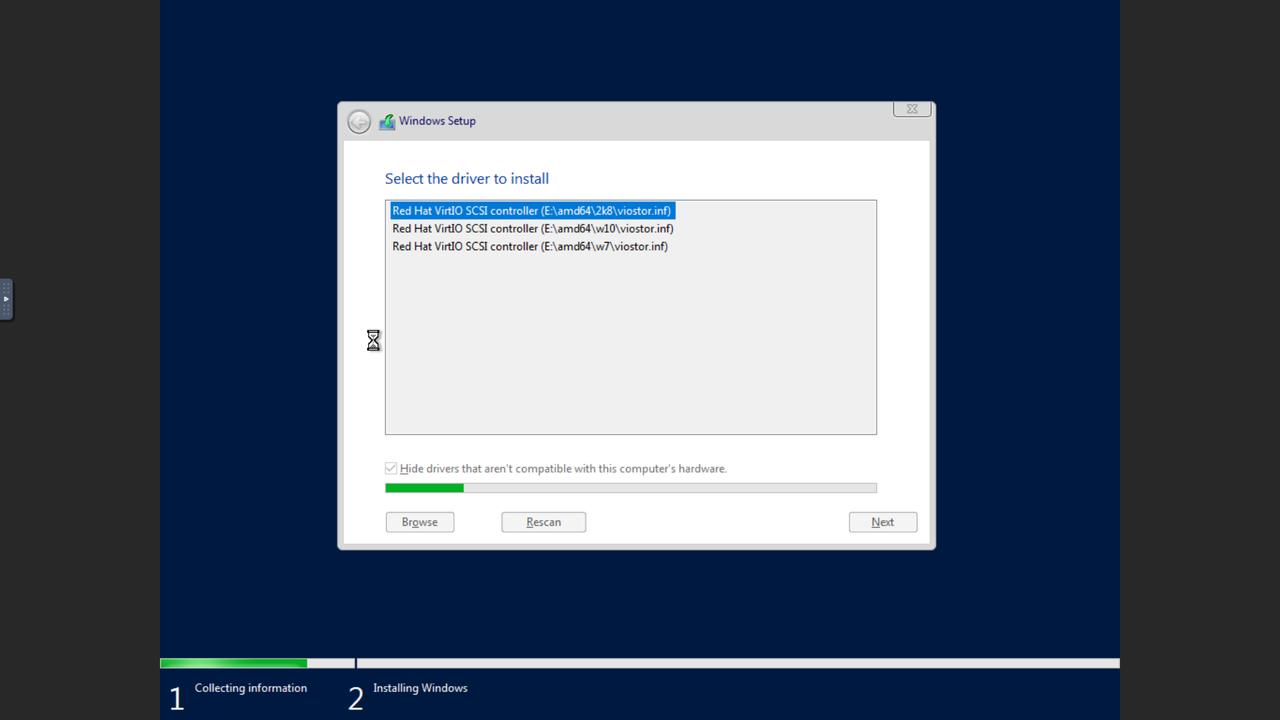
Now you have the driver list to select. Here we select the first one as default then go Next

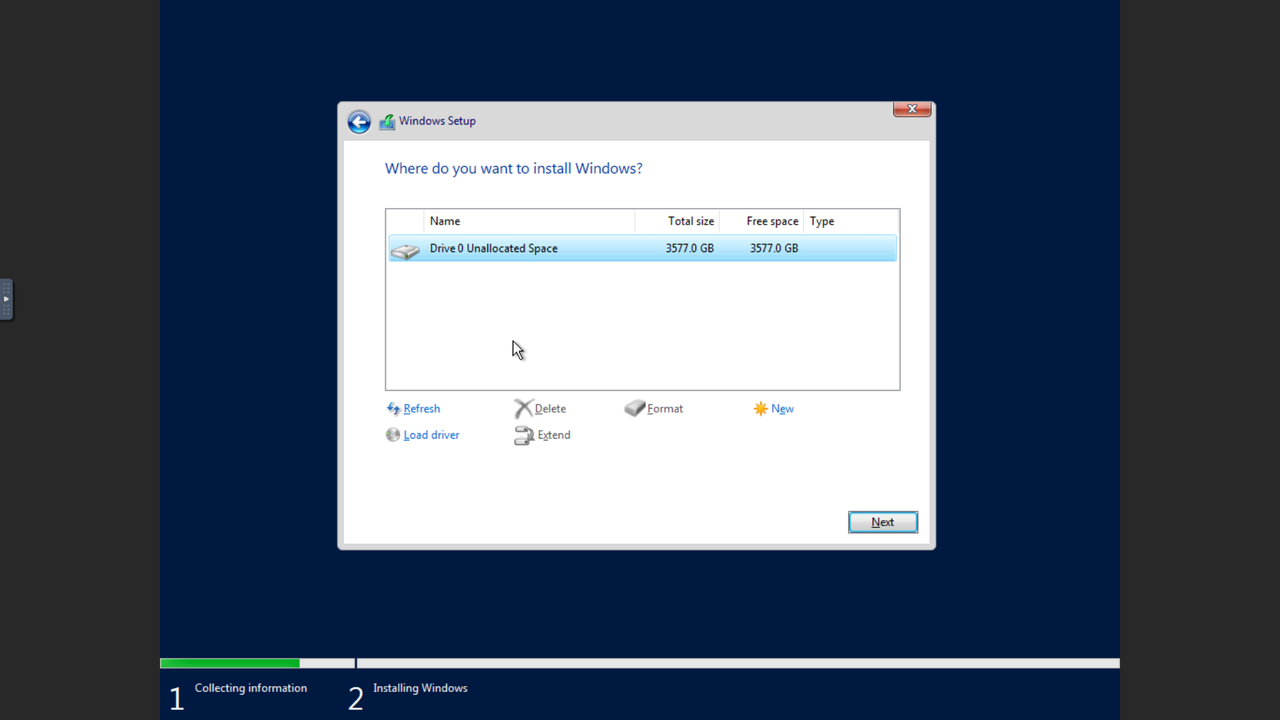
After driver's installed, you can select where you want to install Windows on the VM. Here we only have one drive left, so we simply select this one and go Next :
Installing Windows
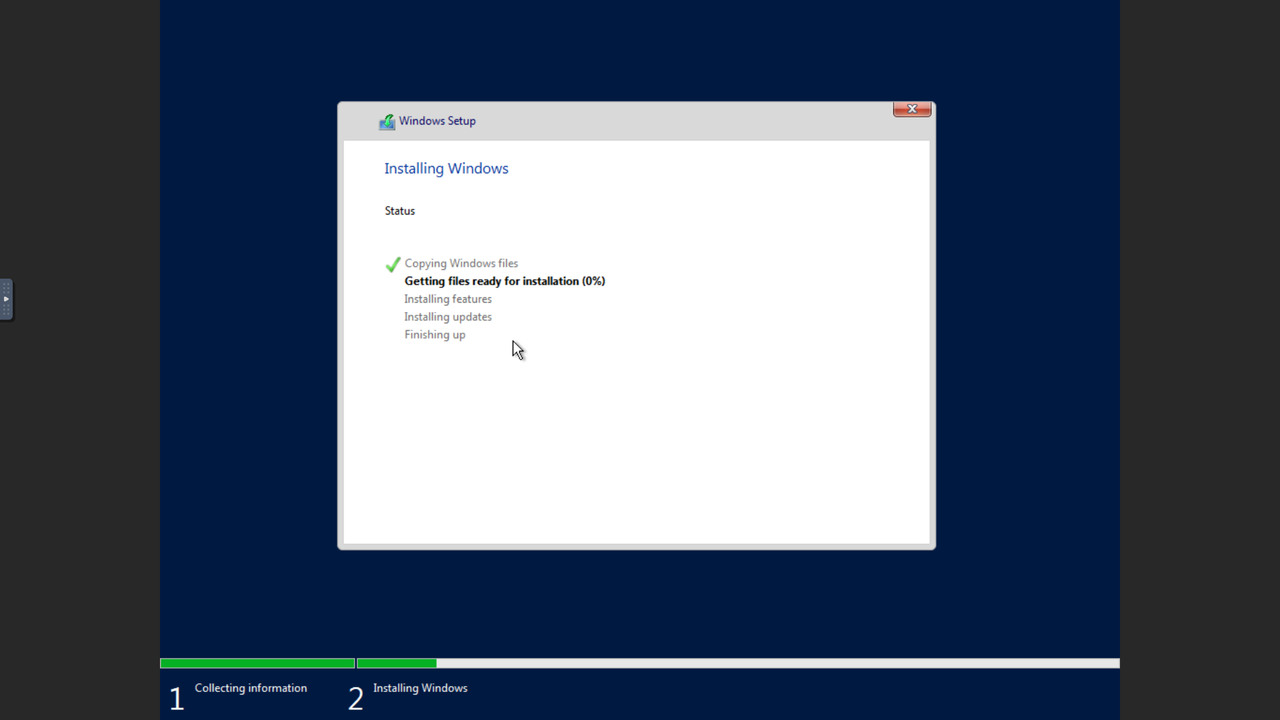
Wait until this procedure done, press Restart now to get your new Windows:

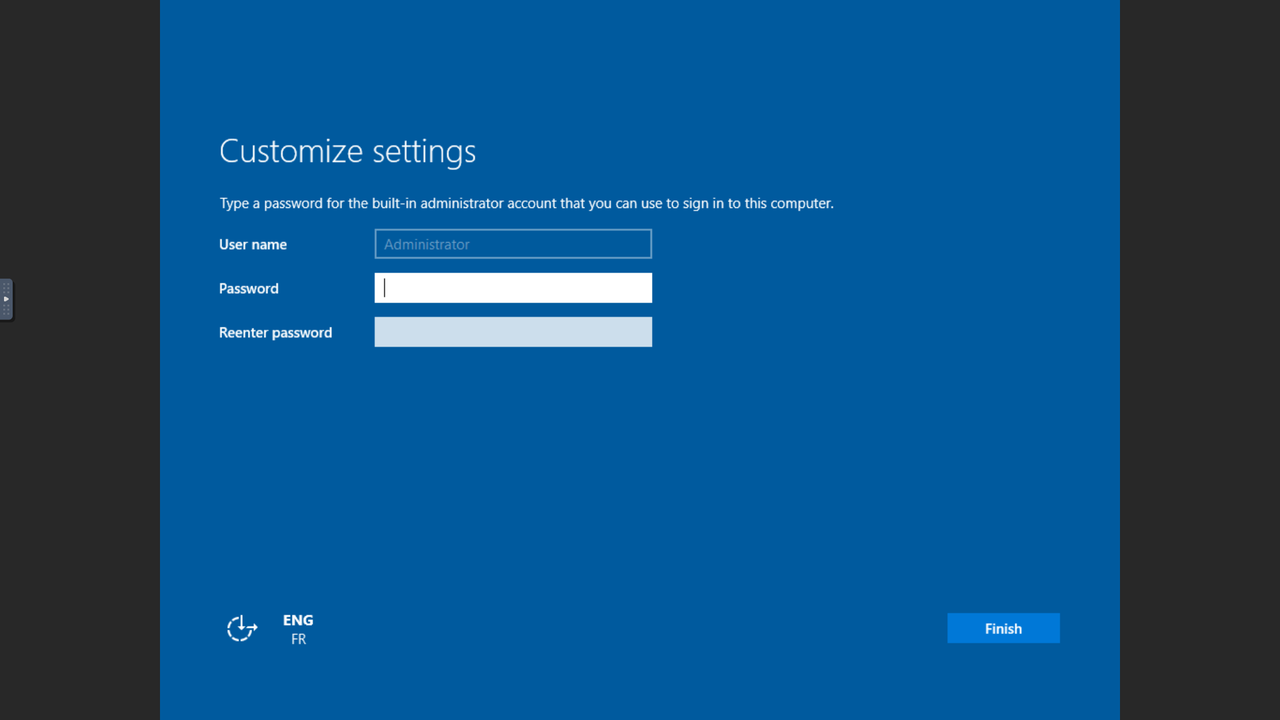
Set your Administrator's password to login to your Windows:
Install network drivers
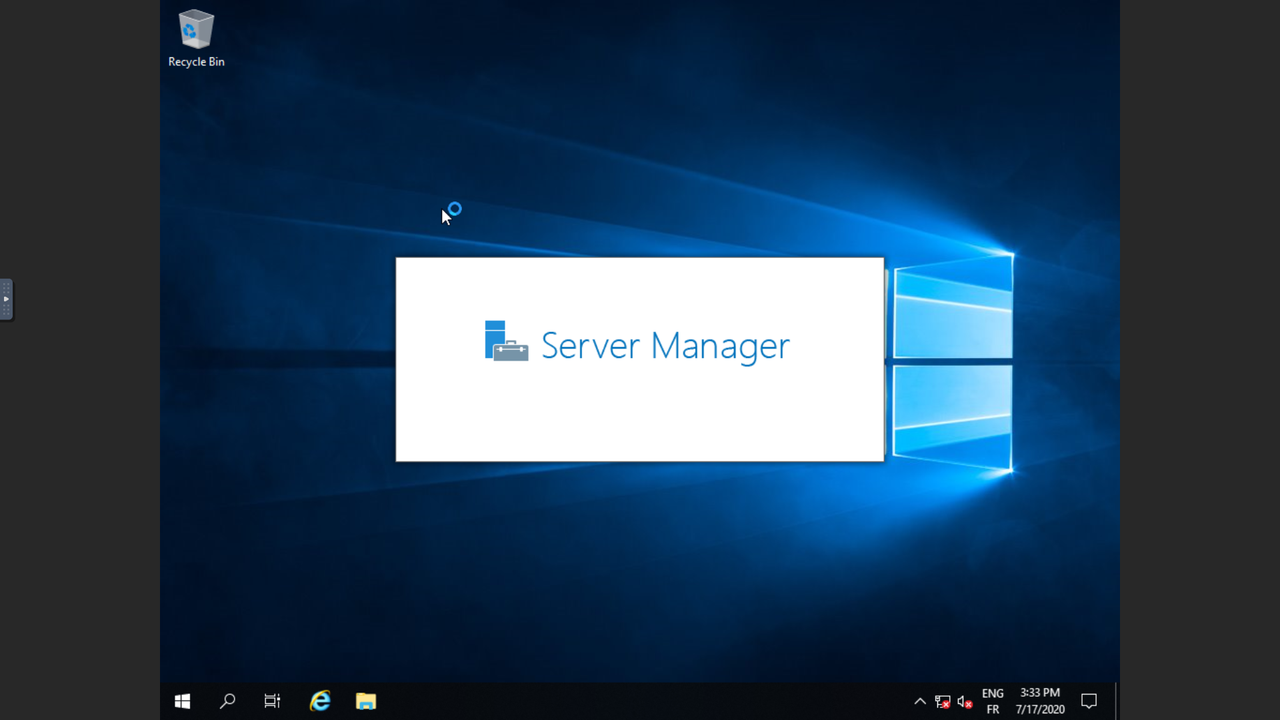
When login to Windows, it will start Server Manager automatically. Don't care about it for now.
Click start (the windows at bottom left) and settings in the menu to enter the Windows Settings page. Type the keyword Device Manager in the search bar and click it in red rectangle:

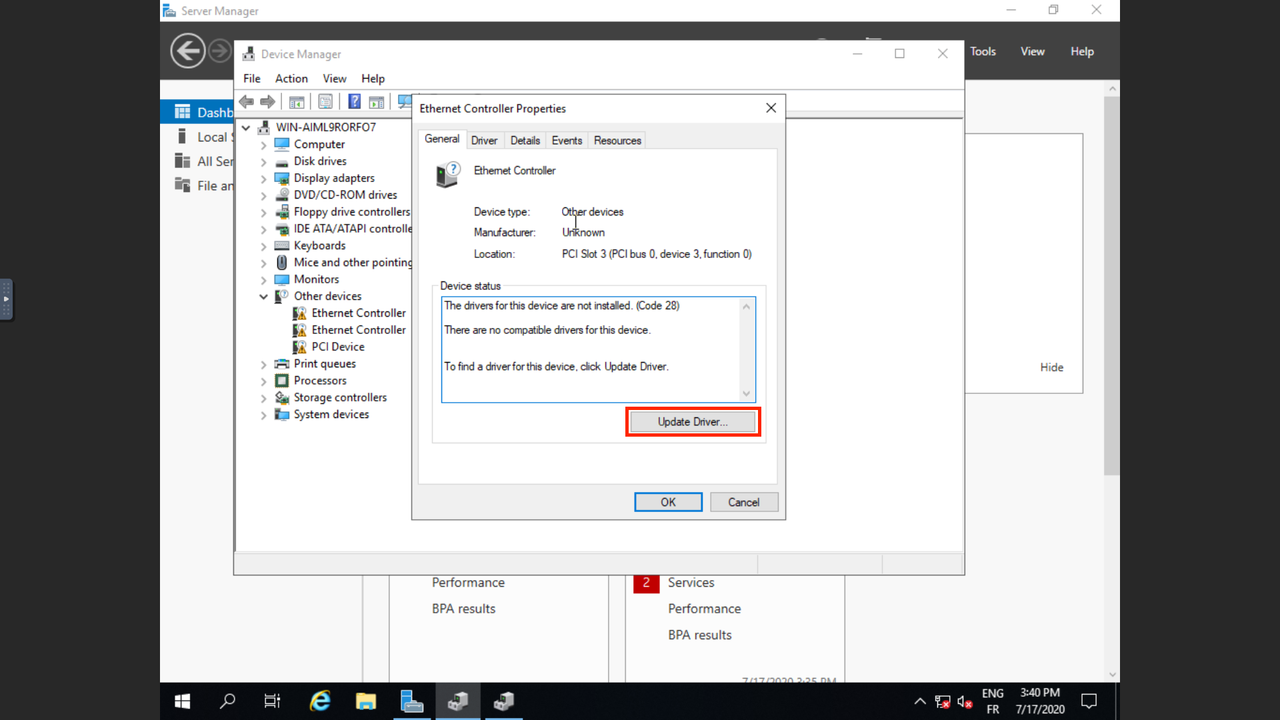
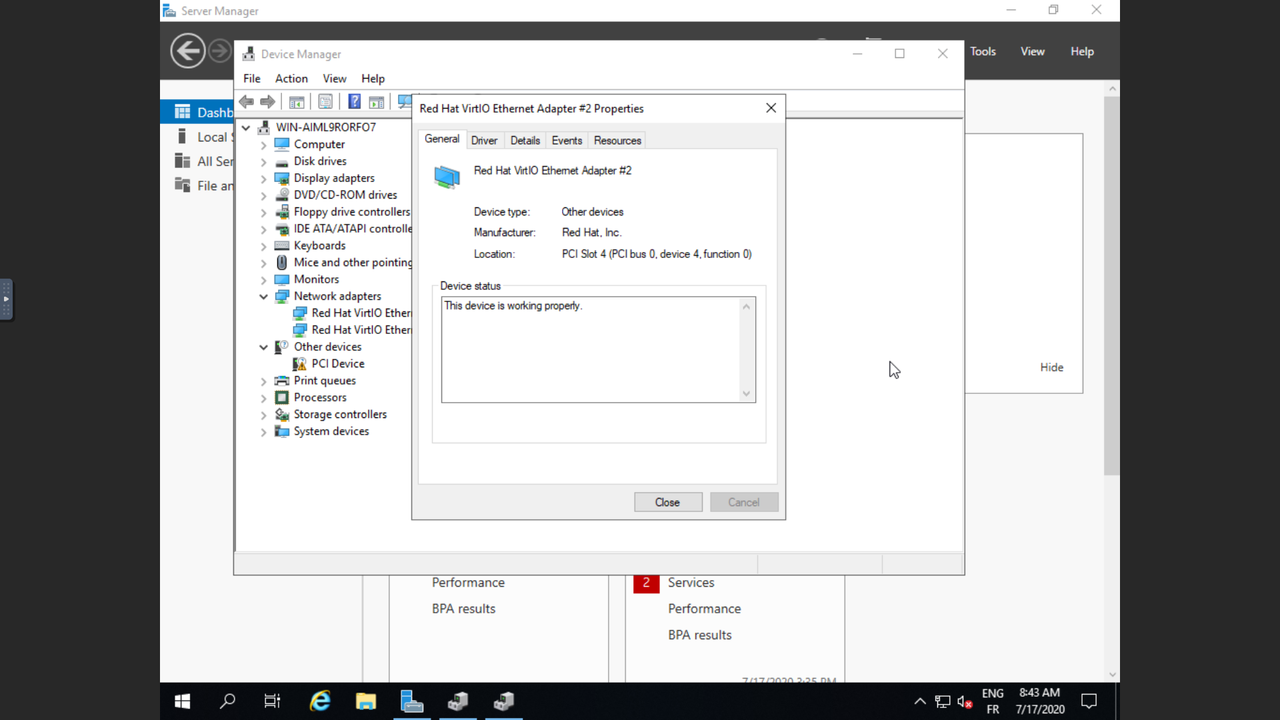
In Device Manager, you will find there are two Ethernet Controllers inside Other devices, which means they are not yet properly configured. Therefore, we are about to update the drivers.

We will update these two controllers one by one as following:
Double click or right click devices to open the properties’ dialogue and follow the red rectangles.
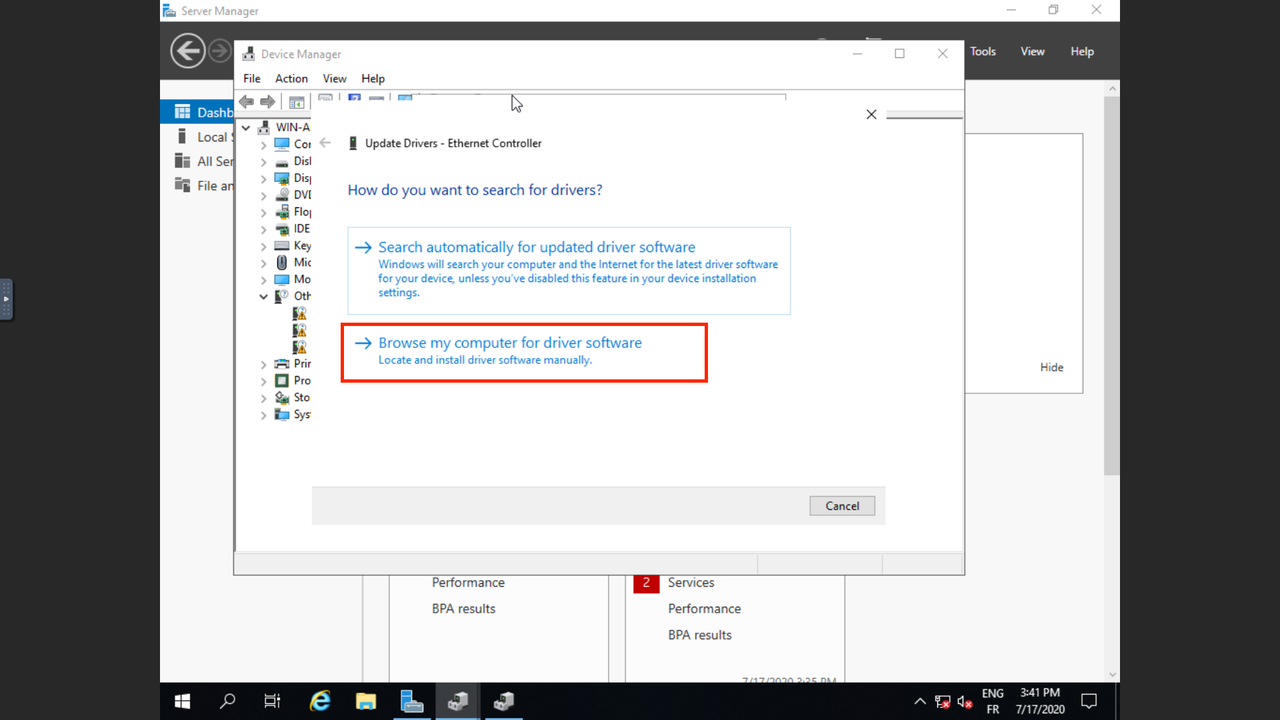
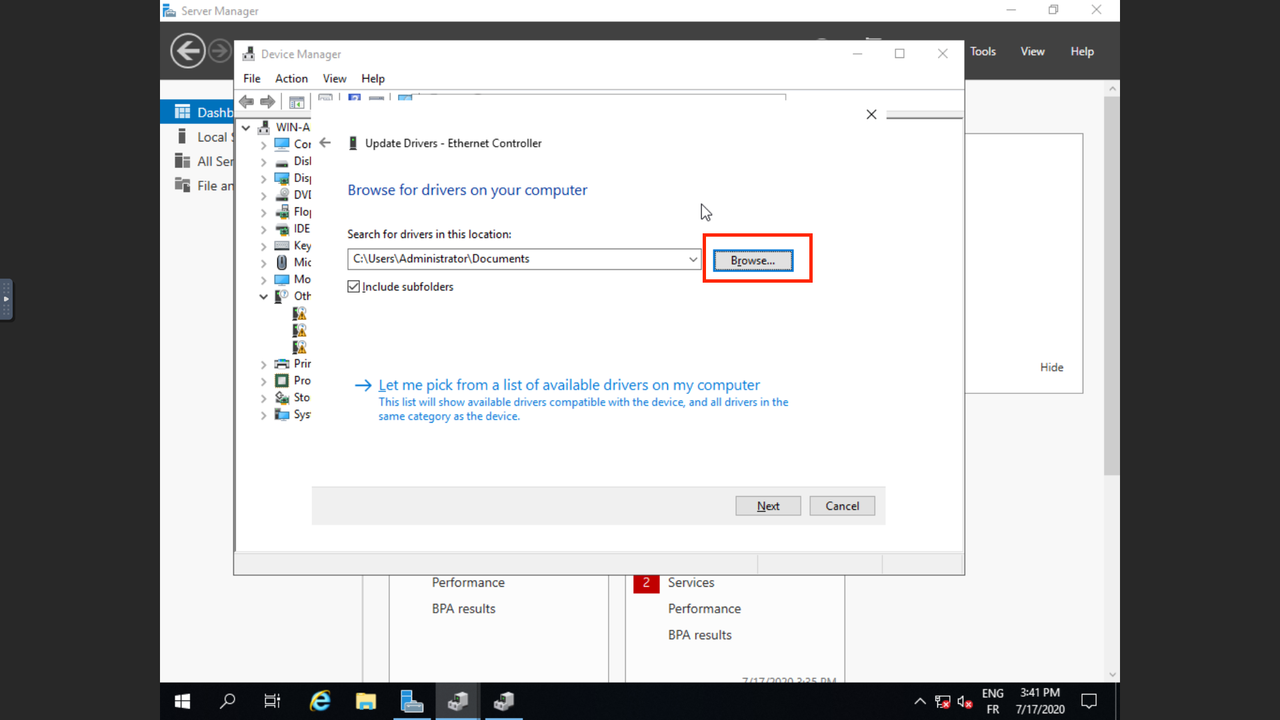
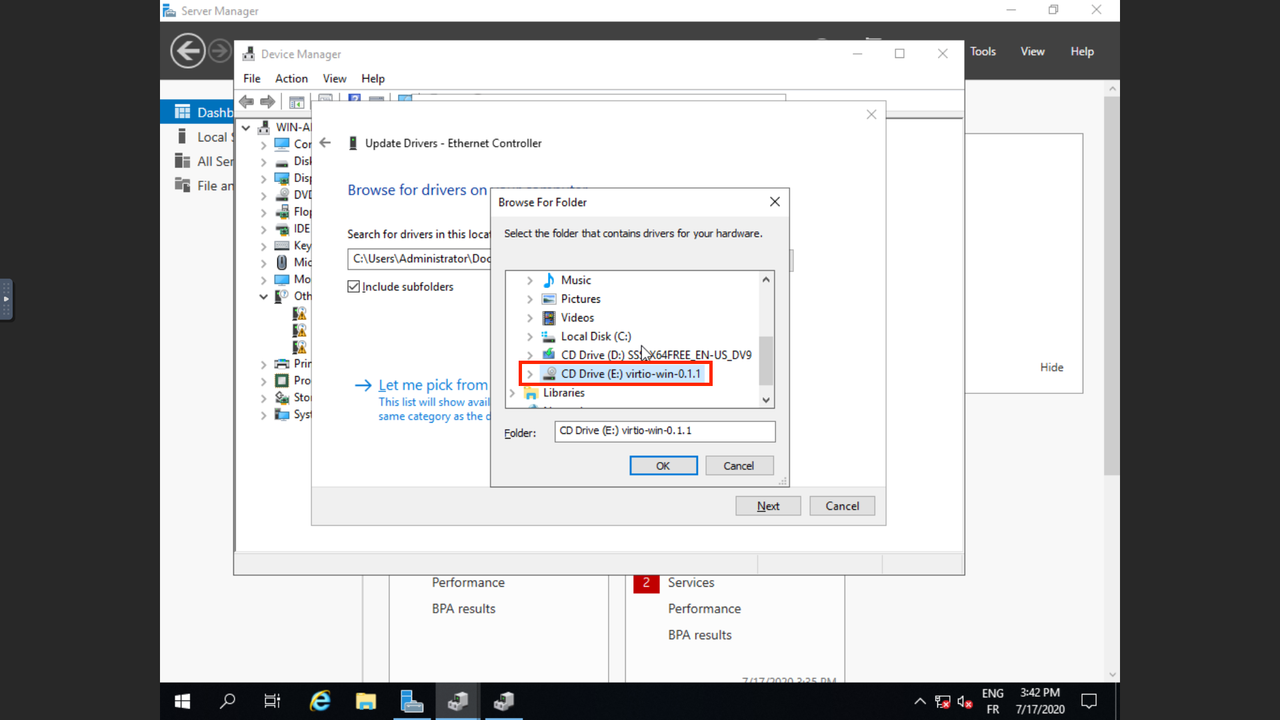
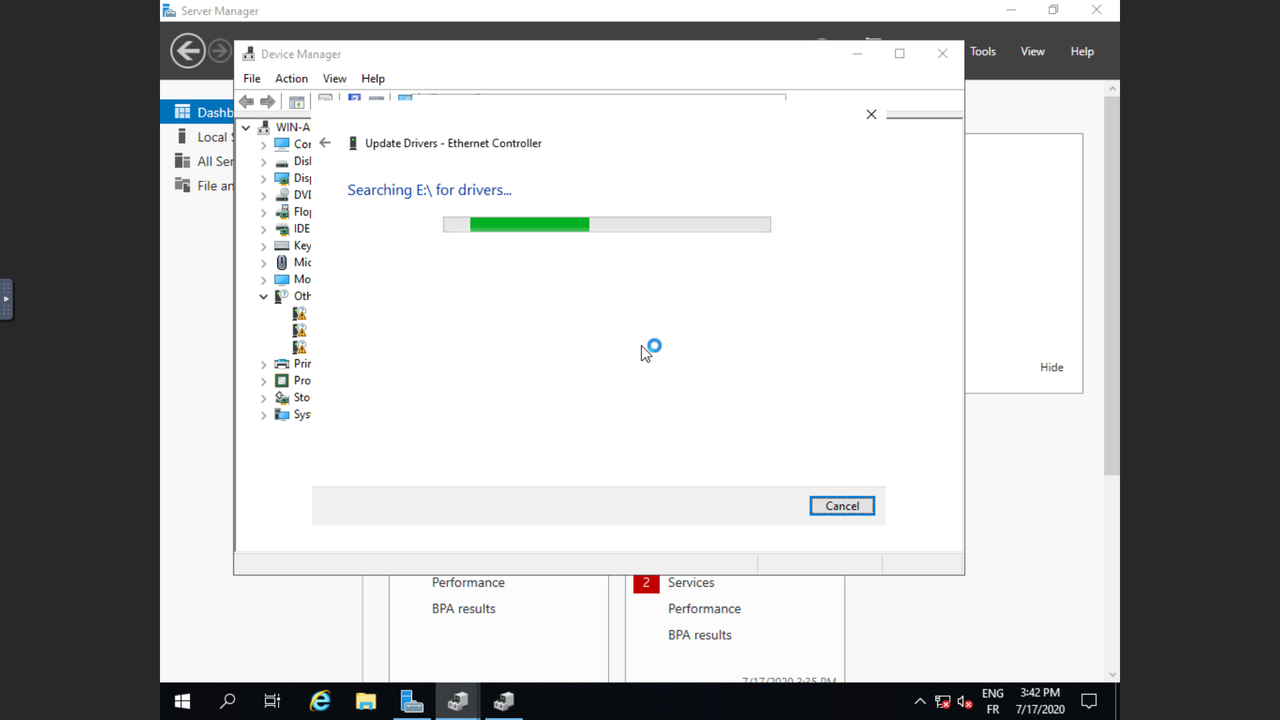
Search for drivers by browsing:
Install the device software:
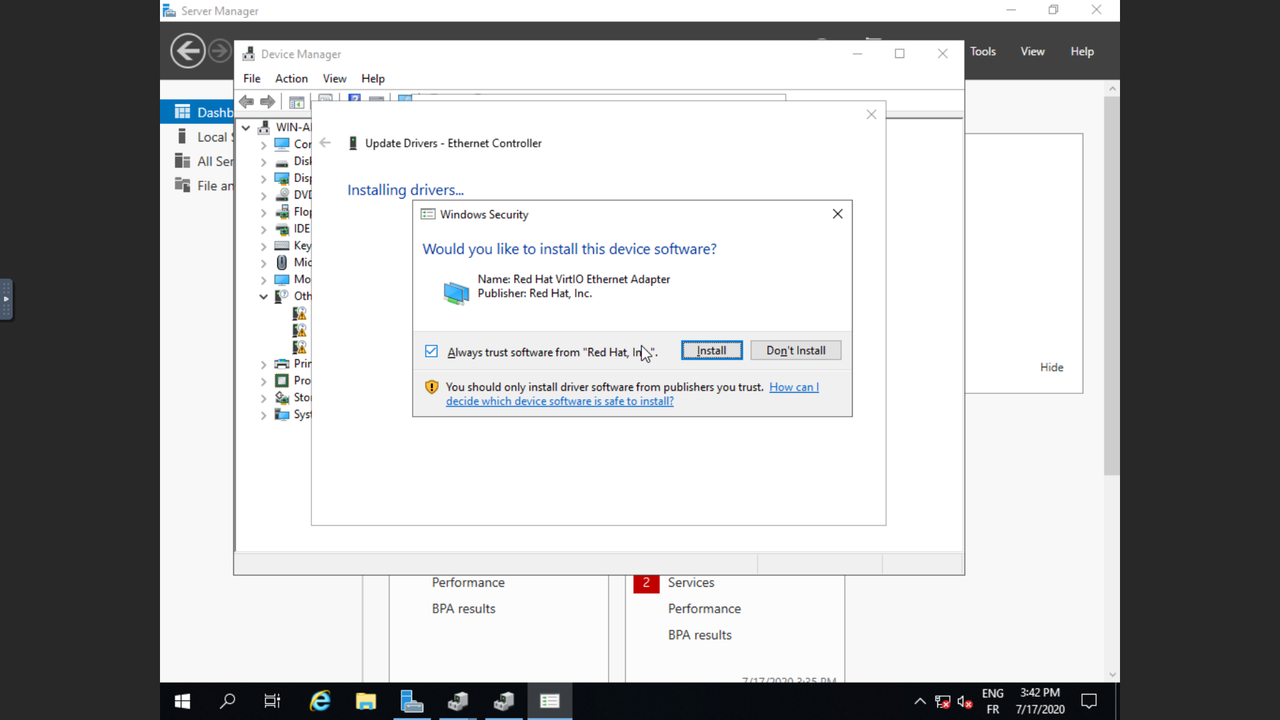
Yes and Close the dialogue.
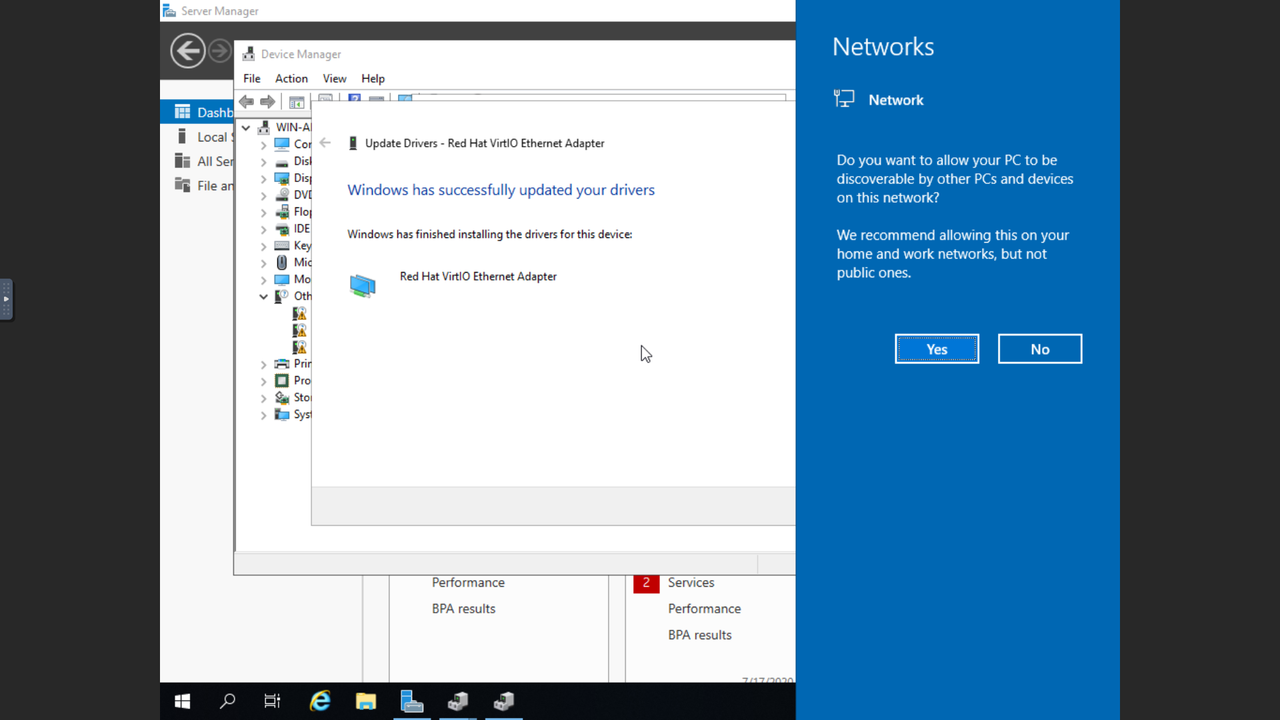
Do the same procedure for the other Ethernet Controller until the devices are working properly. Now you have successfully configured the network drivers for your Windows.
Configure IPv6 address
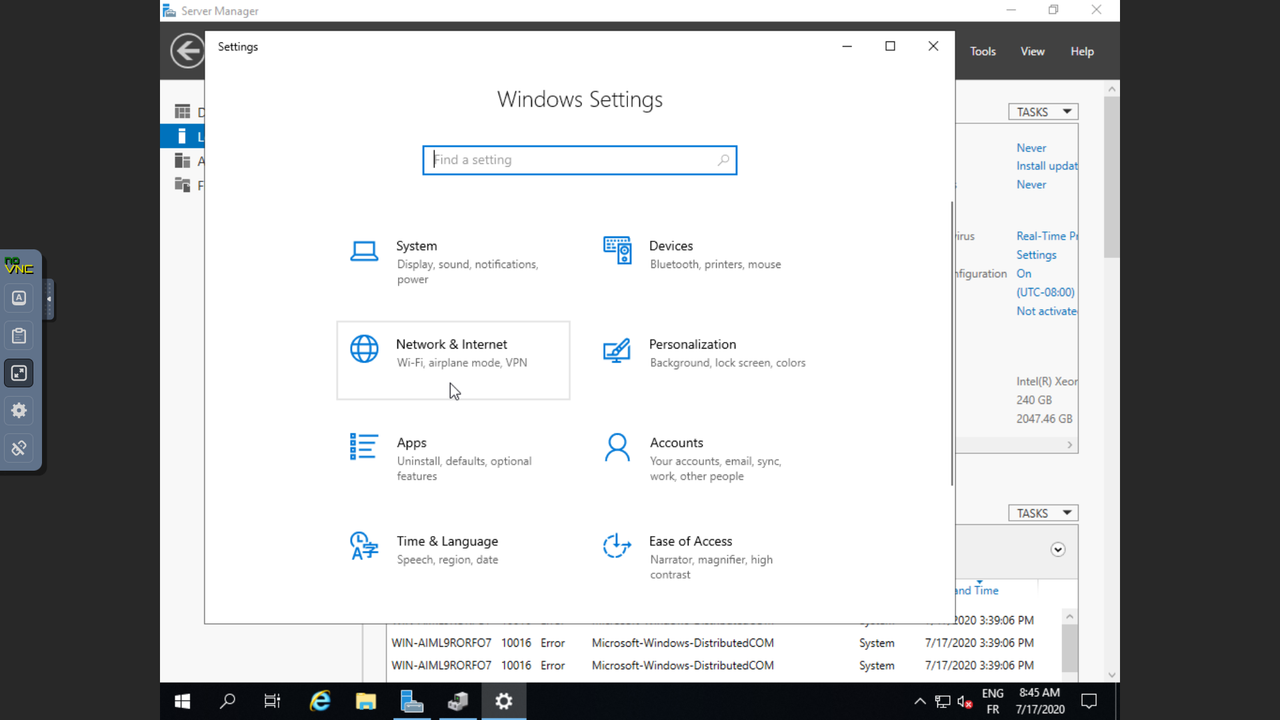
Firstly, we should go to Windows Settings again and enter to Network & Internet:
Ethernet -> Change adapter opinion
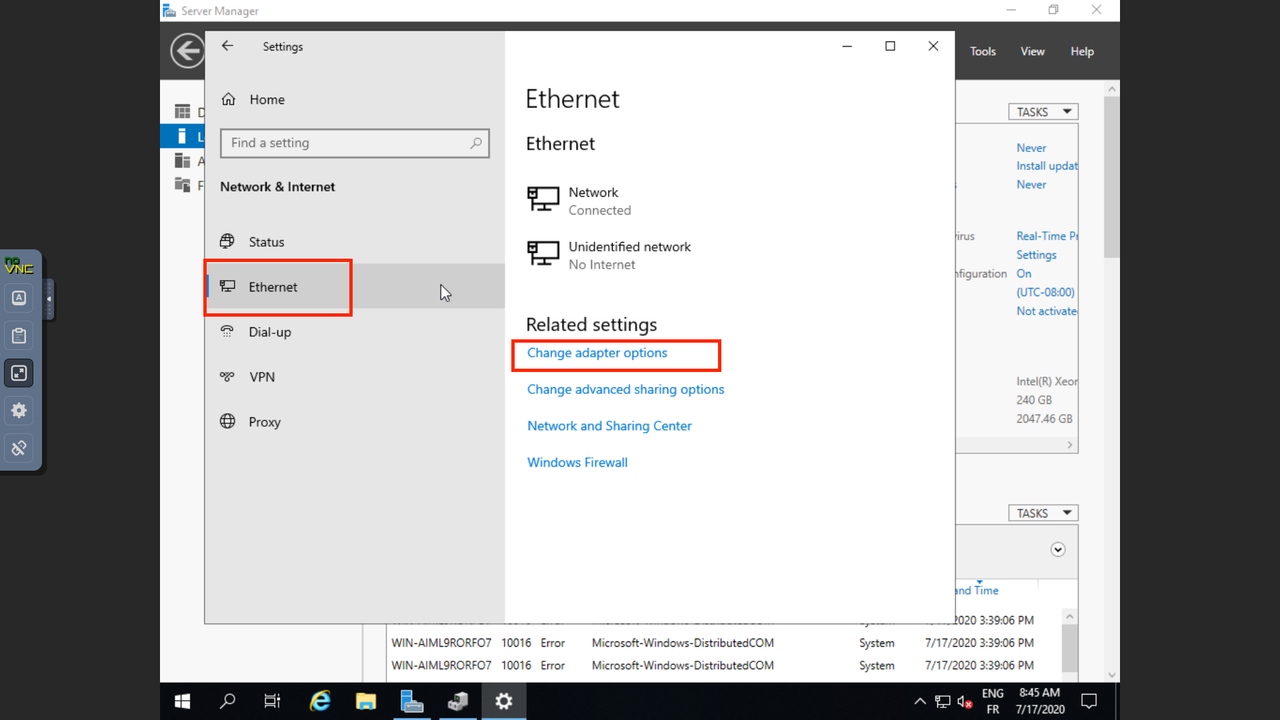
It will guide you to Network Connection dialogue. There are two Ethernets as we installed. In order to configure IPv6 address, we are supposed to configure the Unidentified network Ethernet 2 (double click to enter the dialogue).
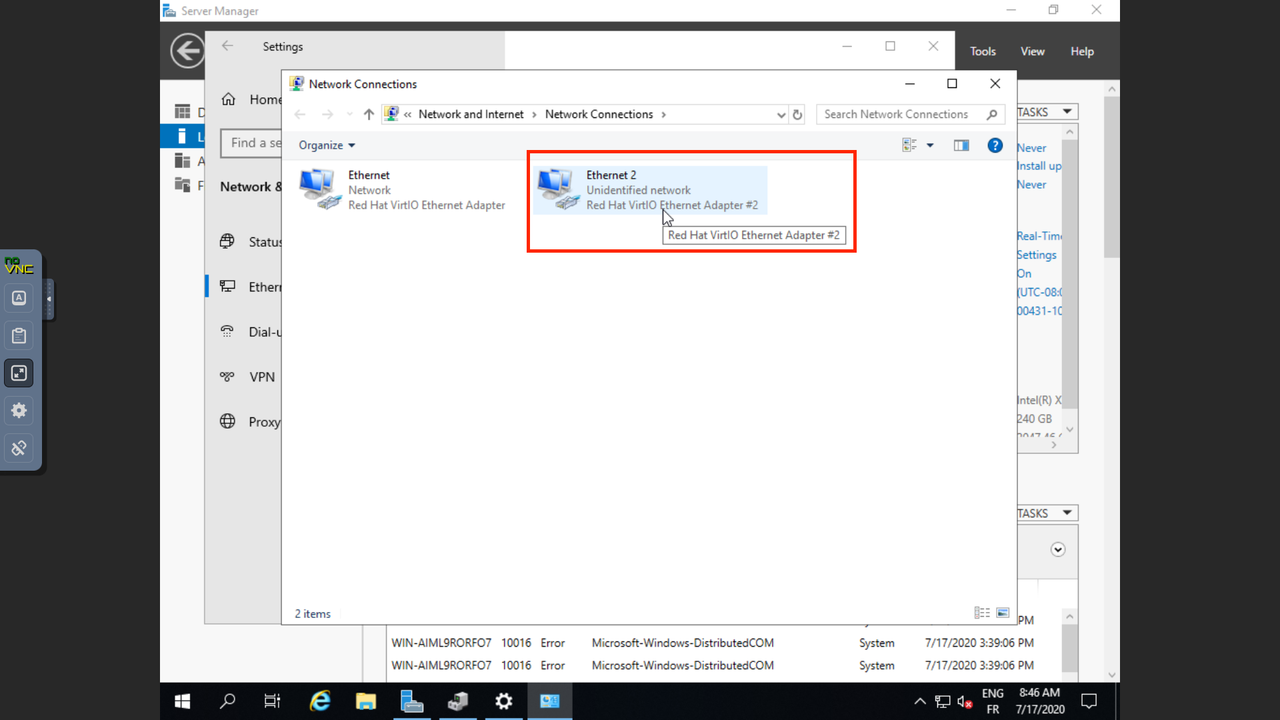
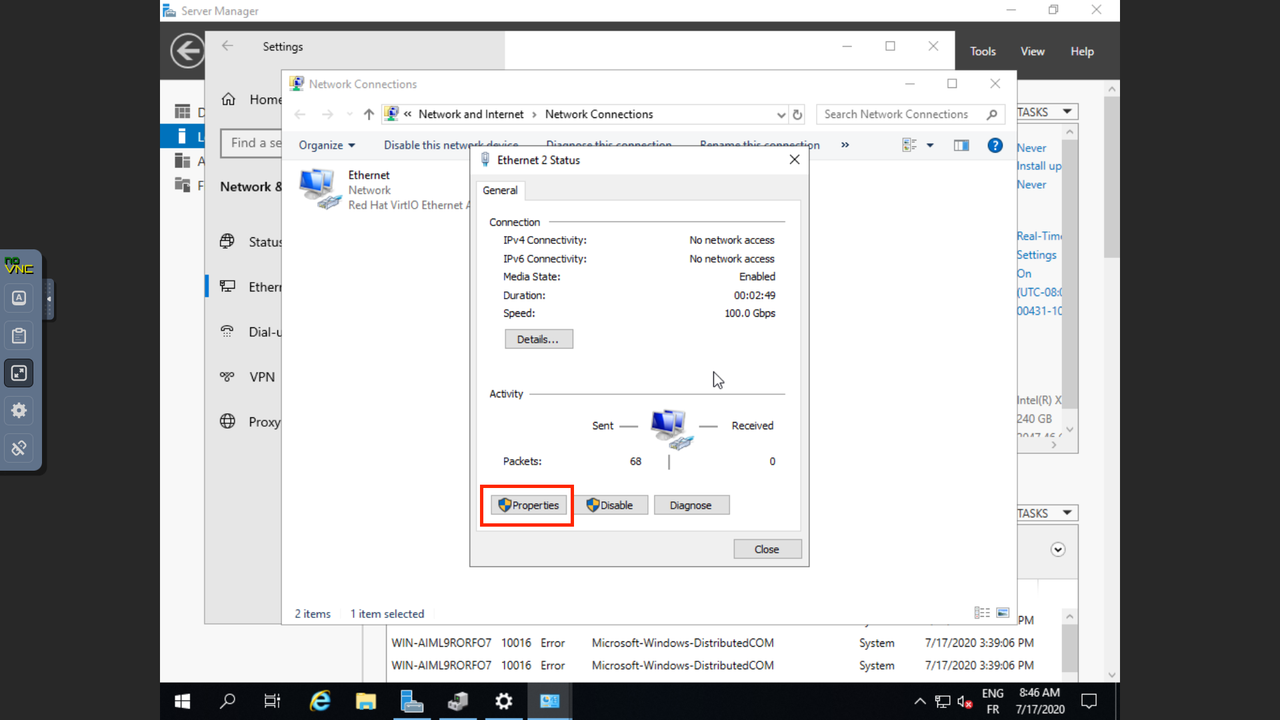
As you can see, there is no packets received. To enable it, we should set the properties.
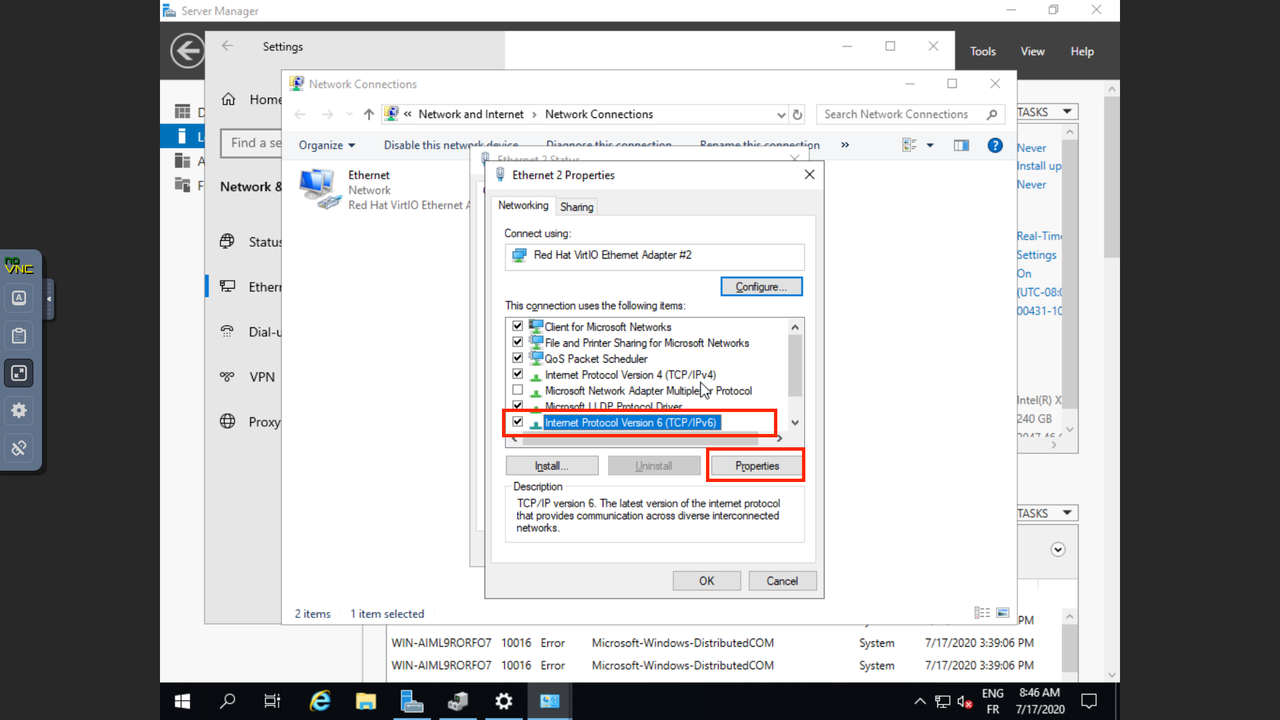
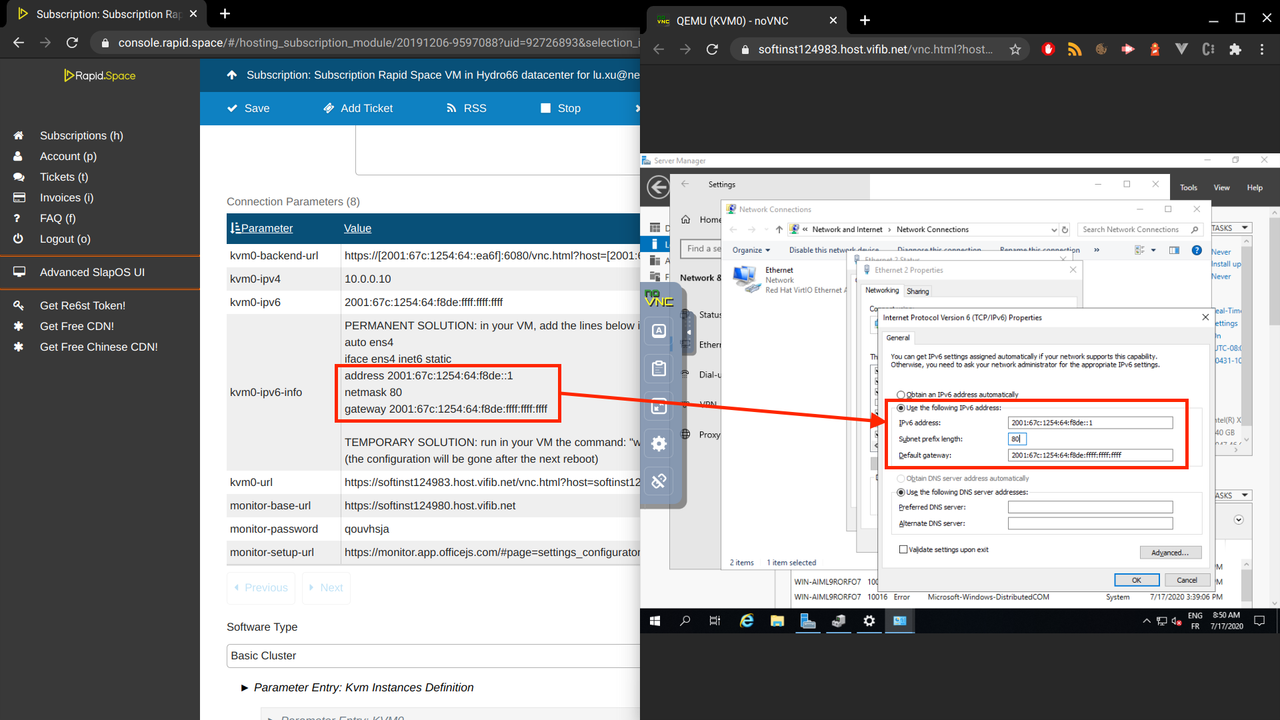
When you are on Internet Protocol Version 6 (TCP/IPv6) Properties dialogue, you are required to type the IPv6 address from your Connection Parameters on Rapid.Space console.
Yes and Close the dialogues.

Now the activity is normal with sending and receiving bytes.

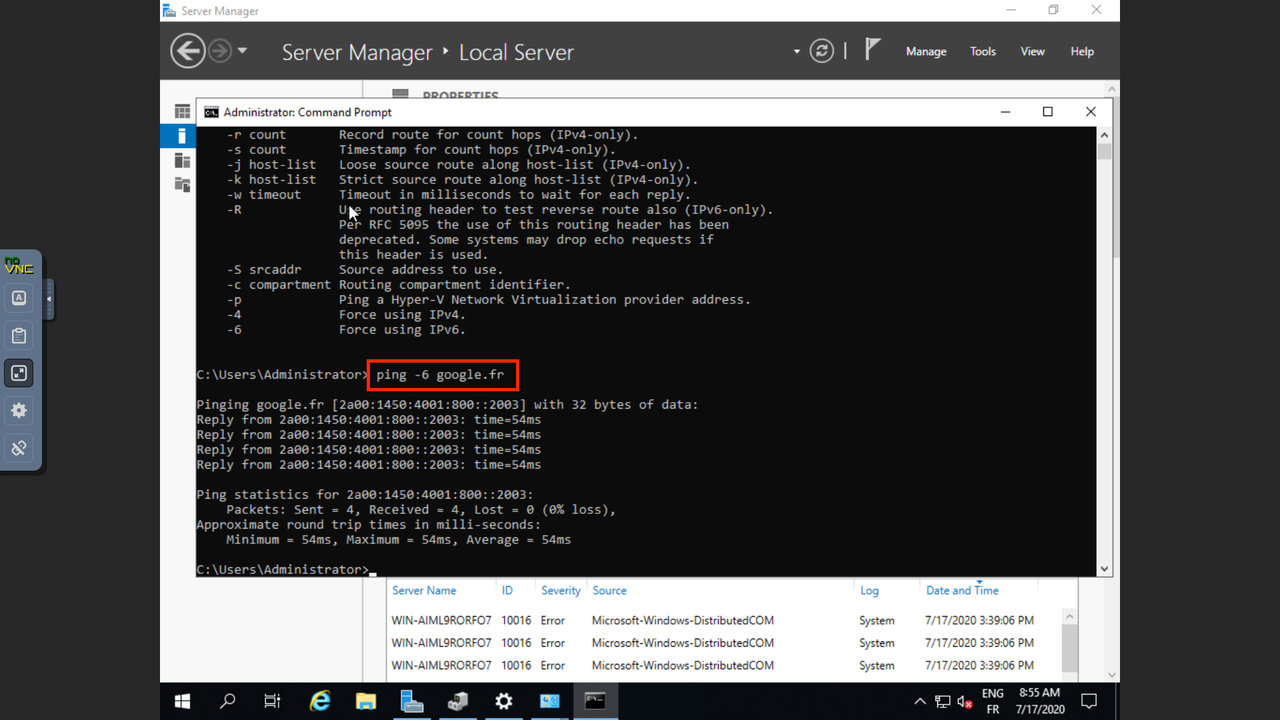
To verity if the IPv6 is usable, you can open the Command and enter:
ping -6 google.fr
If you have the similar output, your Windows is equipped with IPv6 address now.
Get remote access to the VM
Although you can ping to other IPv6 from your Windows server now, you are not yet able to ping your Windows via IPv6 address from other PC. Hence, we need to configure a little bit of Firewall.
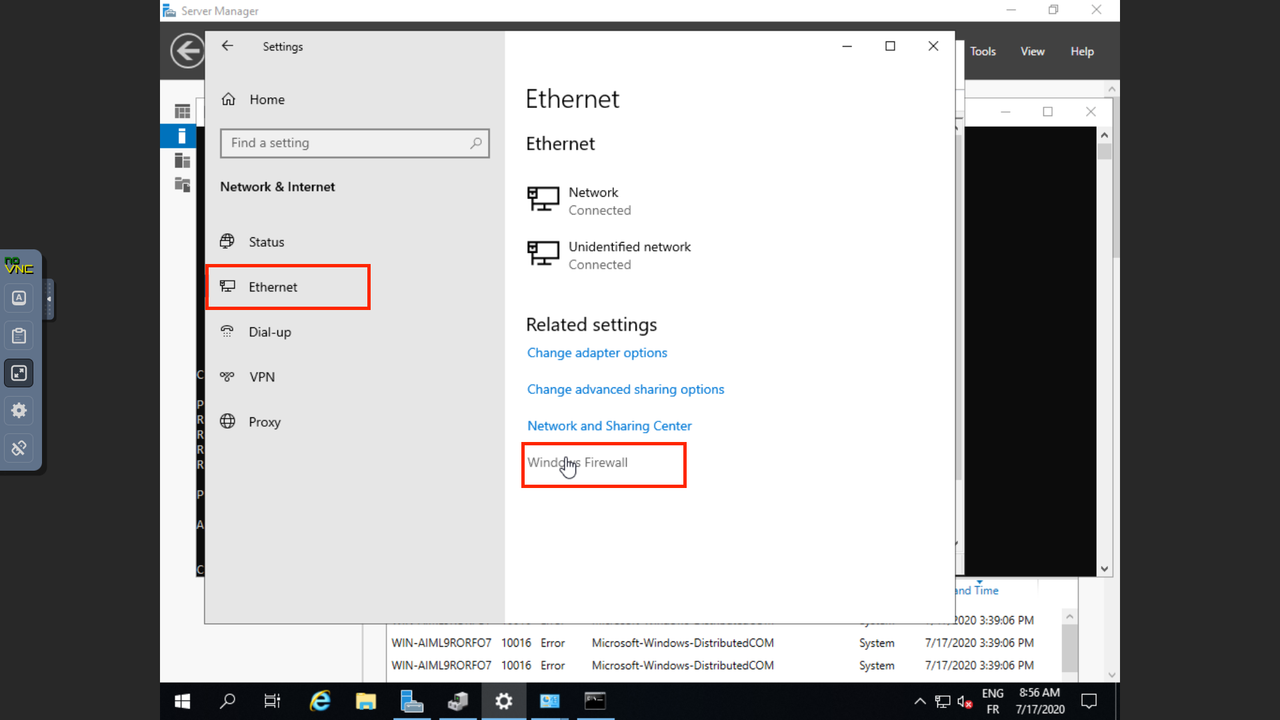
As usual, let's go to Setting -> Network & Internet -> Ethernet -> Windows Firewall:
Click “Advanced Settings”:

Inbound Rules -> File and Printer Sharing(Echo Request - ICMPv6-In)
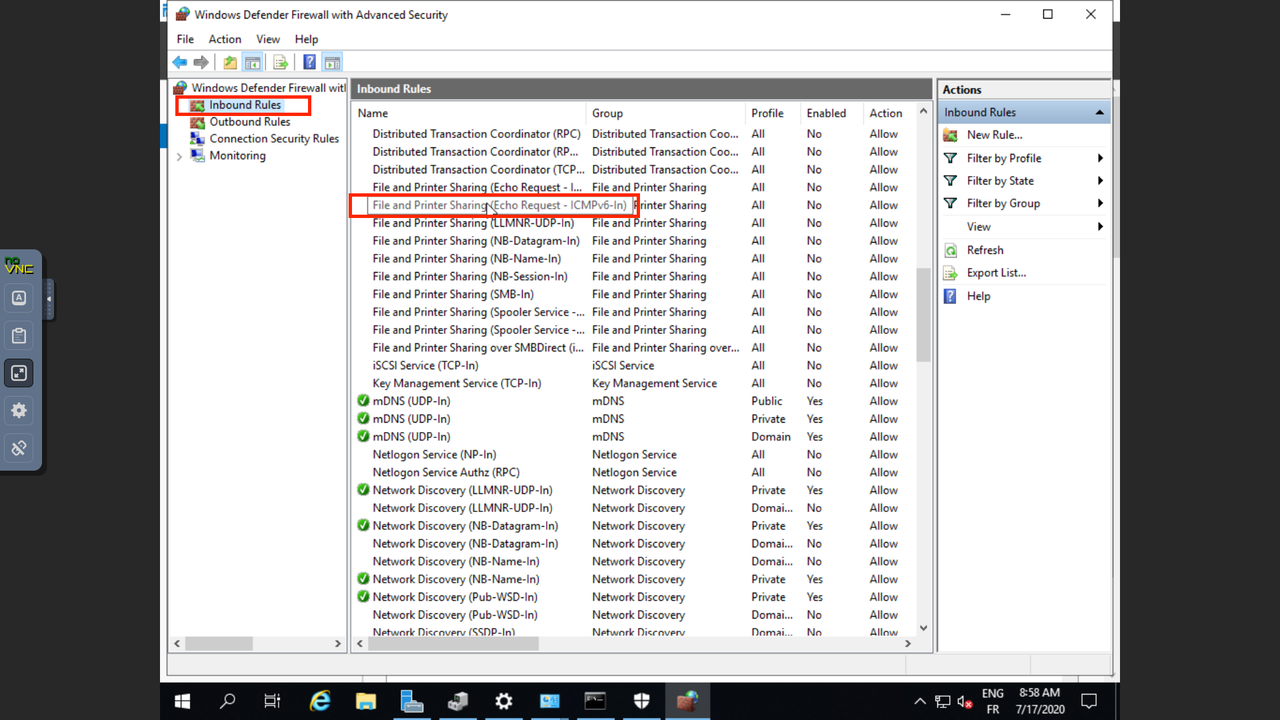
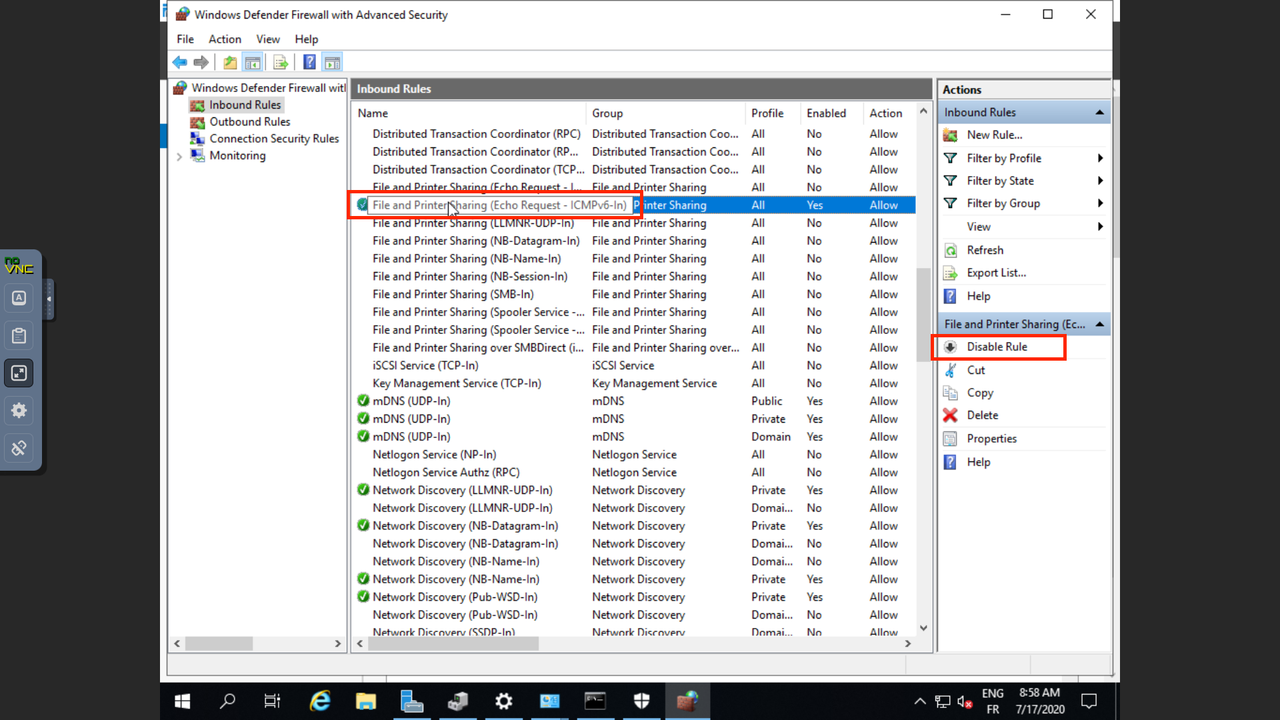
When you click on File and Printer Sharing(Echo Request - ICMPv6-In), there is an action button on the right bar to Enable Rule, you can quickly enable the rule by click it or you also can open its properties and tick Enable as the screenshot did:

Now we can go back to the Server Manager.
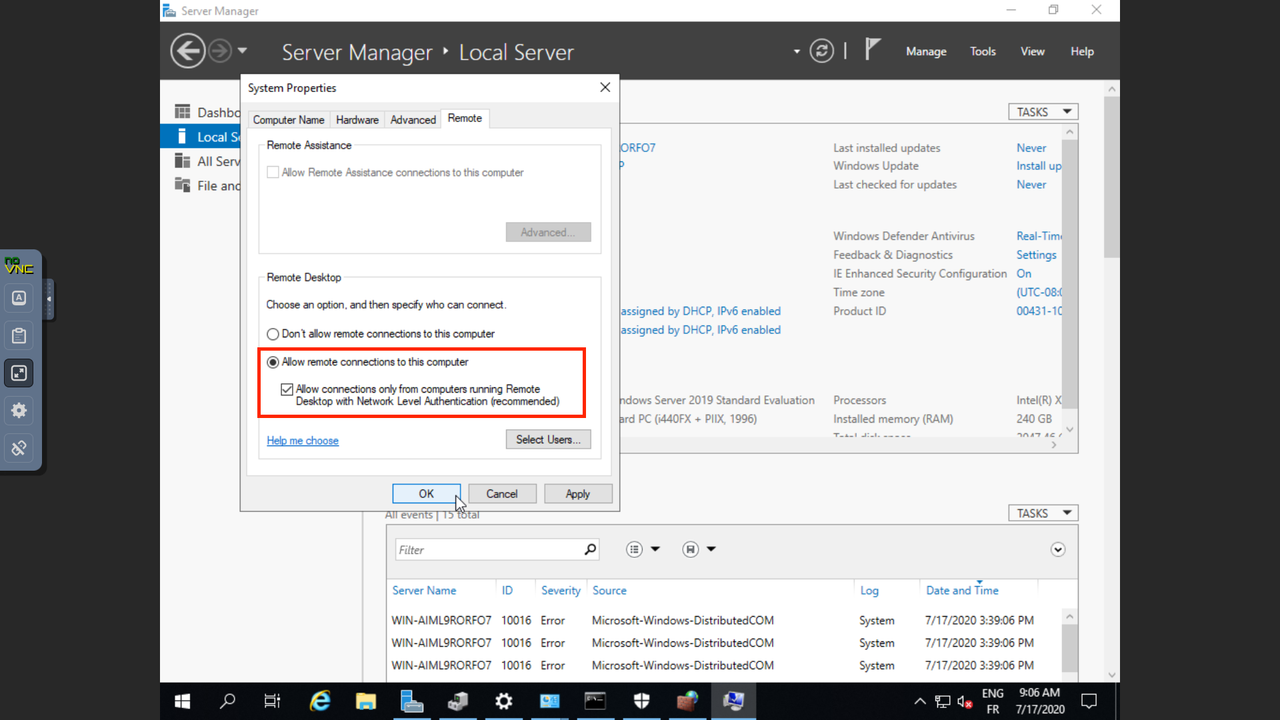
Local Server -> Remote Desktop. There is a chance that Remote Desktop is still Disabled.

You can enable it manually by click Disable entering the properties dialogue, and click around as following:
Now you can ping to your Windows everywhere. If you want to use the remote graphical Windows, apps like Remote Desktop can help.